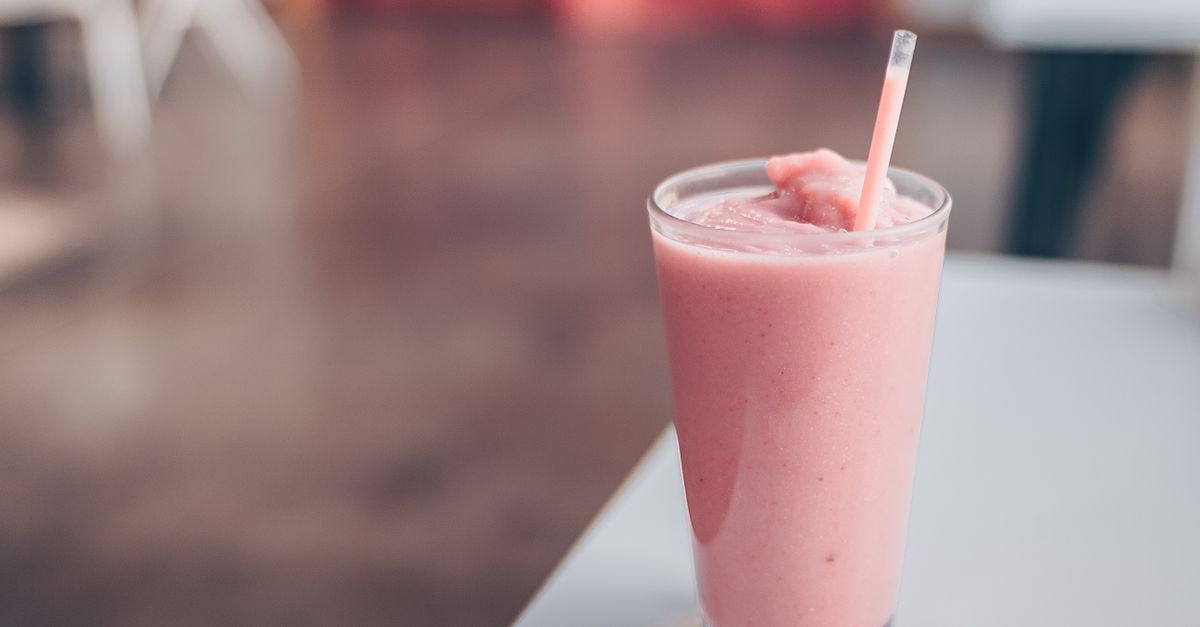
Why Your Homemade Smoothies Are Lumpy (And The Simple Shifts That Guarantee Silky Smooth Perfection Every Time)
Are your homemade smoothies more like a textured chew than a silky sip? You’re not alone. I used to painstakingly layer ingredients, blend for what felt like an eternity, and still end up with stubborn chunks of spinach or gritty protein powder. It was frustrating, and honestly, it made me dread making smoothies, despite loving the idea of a quick, nutritious meal or snack.
What I’ve realized, after countless experiments and a deep dive into the science of blending, is that the problem isn’t usually your blender’s power. It’s almost always about how you’re adding and blending your ingredients. There are specific, often overlooked, techniques that can transform a mediocre, lumpy smoothie into a velvety, perfectly integrated concoction. These aren’t just minor tweaks; they’re game-changers that consistently deliver that professional, cafe-quality smoothness right in your own kitchen. Let’s dig into the common pitfalls and what actually works.
Key Takeaways
- Always add liquids first to create a vortex that draws ingredients into the blades for a smoother blend.
- Freeze your fruits in single layers or small chunks to prevent large ice balls and ensure even processing.
- Introduce leafy greens with a small amount of liquid, blending them down before adding other ingredients to eliminate stubborn bits.
- Use protein powders and other supplements after a basic blend, and consider a specific ‘power blend’ for them.
The Liquid-First Rule: Why It Changes Everything
The single biggest mistake I see most people make when blending smoothies is tossing all their ingredients into the blender at once, often starting with solids. This creates a dense, static mass around the blades, forcing your blender to work harder, generating heat, and ultimately leaving you with chunks. The secret? Always, always add your liquids first.
Think of it this way: for your blender blades to effectively chop and pulverize, they need a medium to create a strong vortex. Liquids – whether it’s water, milk, juice, or a non-dairy alternative – provide this necessary swirl. When you add liquids first, they form a pool around the blades. As the blender starts, this liquid creates a powerful whirlpool that sucks down solid ingredients, ensuring they are evenly exposed to the blades from all angles. Without this liquid base, ingredients just sit there, often forming air pockets or getting stuck above the blades, leading to those frustrating lumps.
In my kitchen, this simple shift transformed my smoothie game. I now pour in my almond milk or coconut water, then add softer fruits, followed by harder ones, and finally leafy greens and ice. The difference is night and day. My smoothies are consistently smoother, and my blender runs far more efficiently without straining.
The Frozen Fruit Fallacy: Don’t Create Icebergs
Frozen fruit is essential for a cold, thick smoothie without relying solely on ice, which can dilute flavor. However, simply dumping a bag of frozen berries or a rock-hard banana chunk into your blender is another common cause of lumps. Large, frozen masses act like icebergs, resisting the blades and preventing a uniform blend.
What changed everything for me was prepping and freezing fruit in smaller, individual pieces. If I’m using a banana, I peel and break it into 2-3 pieces before freezing. For berries, I spread them in a single layer on a baking sheet before transferring to a freezer bag, preventing them from clumping into one giant block. This might seem like an extra step, but it pays off hugely in blending efficiency. Smaller frozen pieces are easier for the blades to grab and break down, distributing coldness and thickness evenly throughout the mixture.
I also learned that letting your frozen fruit sit out for just 5-10 minutes before blending can make a difference, especially for very hard items like frozen mango or pineapple. This slight thaw softens the edges enough for the blades to get a better purchase without fully defrosting, maintaining that desired frosty texture.
Conquering Leafy Greens: The Pre-Blend Advantage
Ah, the dreaded leafy green flecks. Spinach and kale are nutritional powerhouses, but their fibrous nature makes them notoriously difficult to blend into a truly smooth consistency. If you’re adding a handful of kale directly into your nearly finished smoothie, you’re practically guaranteed to have green bits floating around.
The trick here is a pre-blend technique specifically for greens. After adding your liquids, toss in just your leafy greens. Blend these two ingredients together until the greens are completely liquefied – no visible pieces remain. This might take 30-60 seconds, depending on your blender and the type of greens. Once you have a smooth, green liquid, then add the rest of your ingredients, like fruits, nuts, and ice. This ensures the fibers are fully broken down before they have to compete with harder, frozen components.
In my experience, this method works wonders. My green smoothies went from being ‘healthy but chunky’ to ‘smooth and deliciously green’ overnight. It’s a small adjustment in the order of operations that yields massive results for texture.
Protein Powders & Supplements: The Late Addition Secret
Protein powders, flax seeds, chia seeds, and other powdered supplements are notorious for creating a gritty, lumpy texture if not blended correctly. Many people add them at the beginning or in the middle, only to find them clinging to the sides or bottom, refusing to fully incorporate.
My breakthrough came when I started treating these powders as a late addition, often with a specific ‘power blend’ phase. Here’s what I recommend: first, blend all your other ingredients (liquids, fruits, greens, ice) until they are completely smooth. Once you have a lump-free base, then add your protein powder or supplements. Blend again, but this time, opt for a lower speed or pulse setting initially to gently incorporate the powder, preventing it from puffing up and clinging to the lid. After about 10-15 seconds, increase to a higher speed for another 30 seconds to fully integrate.
For notoriously stubborn powders, a helpful trick is to create a small ‘well’ in the center of your blended smoothie before adding the powder. Pour the powder directly into this well, then blend. The existing smoothie base acts as an excellent medium for dispersion, preventing clumps. I’ve found this strategy eliminates the chalky residue and ensures my supplements are fully mixed, contributing to the overall creamy texture.
Blender Care & Maintenance: An Often Overlooked Factor
While blending technique is paramount, the condition of your blender blades and jar can also impact smoothness. Over time, blades can dull or become warped, especially if you frequently blend hard ingredients or ice. A dull blade struggles to cut and pulverize, leading to a more ‘smashing’ action that results in lumps rather than a fine blend.
Regular inspection and proper cleaning are key. I make it a habit to check my blender blades every few months for any signs of dullness, chips, or bending. While replacing blades isn’t always cheap, it’s often more cost-effective than buying a whole new blender if your motor is still strong. Furthermore, ensuring your blender jar is completely clean – especially under the blades – before each use prevents old, dried residue from affecting new blends or creating unwanted grittiness. A quick rinse immediately after use is far more effective than letting ingredients dry on.
Also, avoid overfilling your blender past the max fill line. This leaves no room for the vortex to form effectively, putting undue strain on your motor and resulting in a less-than-smooth mixture. Give your blender the space it needs to do its job properly, and it will reward you with silky perfection.
Troubleshooting for Ultra-Smooth Results
Even with the best techniques, sometimes a particularly stubborn ingredient or a slightly off ratio can lead to a less-than-perfect smoothie. Knowing how to troubleshoot on the fly is a skill that comes with practice, but there are a few go-to moves I always rely on.
If your smoothie is too thick and won’t blend: Don’t add more liquid right away. Instead, use your blender’s tamper (if it has one) to push ingredients down towards the blades. If you don’t have a tamper, turn off the blender, gently stir the mixture with a long spoon to dislodge air pockets, and then try blending again. Only add more liquid (a tablespoon at a time) if these methods fail, as too much liquid can dilute flavor.
If you have persistent chunks: Stop blending. A longer blend time at a high speed often generates heat, which can actually degrade nutrients and alter the texture negatively. Instead, assess the chunks. Are they frozen fruit? Break them down manually if they’re too large. Is it leafy greens? You might need to add a tiny bit more liquid and focus on a pulsed blend to target those specific bits. Sometimes, simply tilting the blender jar slightly can help reposition ingredients for the blades to catch them. The goal is efficient blending, not just extended blending.
By understanding these common culprits and implementing these practical, expert-level techniques, you’ll be well on your way to crafting perfectly smooth, delicious smoothies every single time. It’s a small investment in your process that yields a huge return in satisfaction.
Frequently Asked Questions
Q1: What’s the best order to add ingredients to a blender for a smooth smoothie?
A1: Always add liquids first, followed by soft fruits and vegetables, then leafy greens, harder fruits/veggies, and finally, frozen ingredients and ice on top. If using protein powder or supplements, add them after the initial blend of other ingredients, blending them in separately.
Q2: My greens always end up in tiny chunks. How do I get them perfectly smooth?
A2: The key is to ‘pre-blend’ your greens. After adding your liquids, add only the leafy greens and blend until they are completely liquefied before adding any other ingredients. This ensures their fibrous structure is fully broken down.
Q3: Why is my smoothie gritty, even after blending for a long time?
A3: Grittiness often comes from unblended powders (like protein or fiber supplements) or tiny seeds (like chia or flax). Ensure you’re adding powders after other ingredients are mostly blended, and consider a specific ‘power blend’ phase for them. For seeds, a high-speed blender is often needed for true smoothness.
Q4: Can I make a smooth smoothie with a less powerful blender?
A4: Yes, but it requires more patience and adherence to technique. Chop all ingredients, especially frozen ones, into smaller pieces. Add liquids first, and use the pre-blend method for greens. You might need to blend in stages, pausing to scrape down the sides or stir ingredients manually to assist the blender.
Q5: How do I prevent my frozen fruit from clumping together in the freezer?
A5: After chopping your fresh fruit into desired pieces, spread them in a single layer on a parchment-lined baking sheet. Freeze for 2-4 hours, then transfer the now-individual pieces to an airtight freezer bag or container. This prevents them from sticking together into a solid block.
Written by Clara Thorne
Home & Hearth, Personal Organization
A former university archivist with a passion for unearthing forgotten practices and making them accessible.
You Might Also Like

Why Your Homemade Yogurt Lacks That Tangy Kick (And The Simple Shifts That Guarantee Complex Flavor)
Discover why your homemade yogurt falls flat on flavor and learn the simple, expert-backed techniques to achieve truly tangy, delicious results.

Why Your Homemade Sauces Are Breaking (And The Pro Secrets for Silky Smooth Perfection Every Time)
Ever wonder why your homemade sauces split or curdle? Learn the pro secrets to achieve silky smooth, stable sauces every time. Stop breaking your emulsions!

Why Your Homemade Pizza Crust Is Soggy (And What Actually Works for Pizzeria-Quality Crisp)
Tired of soggy homemade pizza? Discover the non-obvious mistakes sabotaging your crust and the pro tips for pizzeria-level crispness.