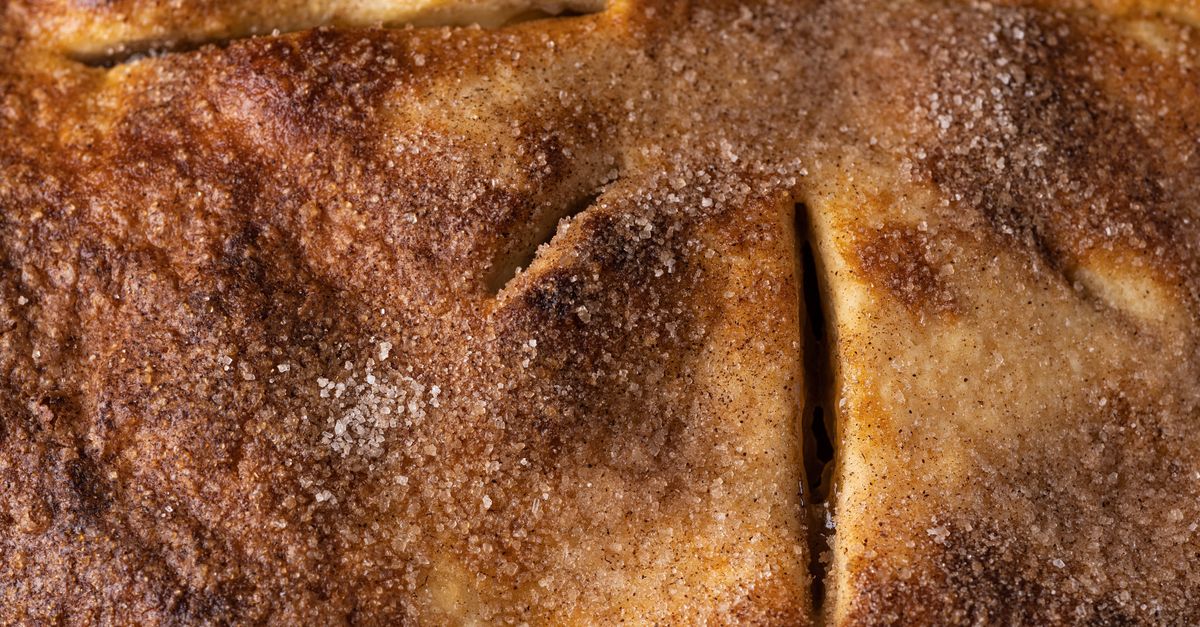
Why Your Homemade Pie Crust is Tough (And The Simple Shifts That Guarantee Tender, Flaky Perfection Every Time)
Is there anything more disheartening than slicing into a beautiful, golden-brown pie, only to find the crust is as chewy as old leather? I’ve been there countless times. For years, my pie crusts were a gamble – sometimes tender, often tough, and rarely the flaky masterpiece I envisioned. I blamed everything from the flour to the weather, never truly understanding the fundamental forces at play. You painstakingly measure, chill, and roll, only to be met with a dense, unyielding shell that detracts from your delicious filling. It’s frustrating, and it’s a common pitfall for home bakers. But here’s the good news: the secret to a tender, flaky pie crust isn’t some arcane magic or a secret ingredient. It’s a series of small, intentional shifts in how you handle butter, water, and dough, which, once mastered, will change your pie-making game forever. What I’ve learned is that the biggest culprits for tough crusts are often counter-intuitive and easily remedied.
Key Takeaways
- Embrace less water than you think you need to prevent gluten overdevelopment and promote flakiness.
- Keep butter and dough ice cold at all stages to create steam pockets and tender layers.
- Avoid overworking the dough at all costs to prevent gluten activation and maintain a delicate texture.
- Practice a gentle, even rolling technique to distribute butter pockets without tearing or compacting the dough.
The Gluten Trap: Why Too Much Water Is Your Enemy
When I first started baking, I thought that if the dough wasn’t coming together, the answer was always more water. My logic was simple: dry dough needs moisture. This, in my experience, was the number one mistake leading to tough pie crusts. Flour contains gluten-forming proteins. When these proteins come into contact with water and are then agitated (through mixing or kneading), they form an elastic network. While essential for bread’s chewiness, this elasticity is the enemy of a tender pie crust. A tough crust is, fundamentally, an overdeveloped gluten network.
What changed everything for me was realizing that the bare minimum of water is almost always the perfect amount for pie dough. Instead of pouring in spoonfuls, I now add ice-cold water, literally one teaspoon at a time, until the dough just barely starts to clump together. It should still look shaggy and almost too dry. When you squeeze a handful, it should hold its shape. If it feels wet or sticky, you’ve gone too far. This approach limits the water available for gluten activation, keeping the dough tender. Don’t be afraid of a few dry spots; they usually hydrate during resting.
The Butter Warm-Up: A Flaky Crust’s Worst Nightmare
The second major revelation for me was the absolute, non-negotiable importance of keeping everything, especially the butter, ice cold. For years, I’d take butter straight from the fridge, cut it, and then let it sit while I prepped other ingredients. Big mistake. Warm butter melts into the flour too readily, creating a paste rather than distinct pockets. Those distinct pockets of cold butter are what create the magical flakiness. As the pie bakes, the water in the butter turns to steam, pushing apart the layers of dough and creating those airy, tender flakes we all crave.
My foolproof method now involves chilling my flour, bowl, and even my pastry blender (or food processor blade) in the freezer for 15-20 minutes before I even start. The butter, cut into 1/2-inch cubes, goes into the freezer for the same amount of time. Working quickly and touching the dough as little as possible is crucial. If at any point the butter starts to soften and smear, stop. Pop the dough back into the fridge or freezer for 10-15 minutes. This commitment to cold temperatures ensures the butter stays solid until it hits the hot oven, guaranteeing those beautiful, buttery layers.
The Overworking Epidemic: When Too Much Love Kills Your Crust
Like the ‘more water’ fallacy, I once believed that mixing my dough thoroughly was a sign of a good baker. Smooth, uniform dough, I thought, was the goal. This led to my third most common mistake: overworking the dough. Every time you mix or knead pie dough, you develop gluten. The more you work it, the tougher it gets. A truly tender pie crust requires a delicate touch and a healthy dose of restraint.
My new rule? Stop mixing the moment the dough just comes together. This often means it will still look a little shaggy, with visible pieces of butter (which is exactly what you want!). When adding the cold water, I use a fork or a very light hand with the food processor to pulse it in. Once the dough is formed, I gather it gently, flatten it into a disc, wrap it tightly, and get it into the fridge immediately. I never knead it like bread dough. This minimal handling ensures the gluten network remains short and undeveloped, yielding a crust that practically melts in your mouth.
The Rolling Revelation: Gentle and Even is the Key
Once your dough is perfectly chilled and rested, the final hurdle is the rolling. I used to attack my dough with a rolling pin, pressing hard and unevenly, trying to force it into shape. This only served to compact the dough, warm the butter, and further develop that dreaded gluten, resulting in a dense, irregular crust. The key to a beautiful, even, flaky crust lies in a gentle and consistent rolling technique.
What truly transformed my rolling process was learning to use even pressure and to rotate the dough frequently. I start by lightly flouring my work surface and rolling pin. I then make a few firm but gentle presses across the dough disc to flatten it slightly before I start rolling. From there, I roll from the center outwards, turning the dough 90 degrees after every couple of rolls. If the dough starts to stick, a tiny dusting of flour is all it needs. The goal is to distribute the butter pockets evenly without tearing the dough or warming it up. If you notice any resistance or the butter starting to melt, pop the dough back into the fridge for 5-10 minutes. Patience here pays off immensely, leading to a consistently tender and flaky crust that bakes beautifully.
Frequently Asked Questions
Q: Can I use warm water if my butter is already cold?
A: Absolutely not! The temperature of the water directly impacts gluten development. Cold water slows down the hydration process of the flour, which in turn limits gluten formation, leading to a more tender crust. Always use ice-cold water, preferably with a few ice cubes in it, and measure it just before adding to the dough.
Q: How do I know if I’ve added enough water if the dough still looks shaggy?
A: The ‘squeeze test’ is your best friend. Take a small handful of the shaggy dough and gently squeeze it. If it holds together without crumbling, you have enough water. It doesn’t need to form a perfectly smooth ball in the mixing bowl; it will come together more during the chilling and rolling stages. Err on the side of too little water, as you can always add a tiny bit more later, but you can’t take it out.
Q: My pie dough cracks when I roll it out. What am I doing wrong?
A: Cracking usually indicates one of two things: either your dough is too cold, or it’s too dry. If it’s too cold, let it sit at room temperature for 5-10 minutes before trying to roll again. If it’s too dry (which can happen if you used too little water initially), you can very carefully spritz a tiny bit of ice water onto the cracked areas and gently press it in, then re-chill before rolling. Uneven rolling pressure can also cause cracking.
Q: Can I make pie dough in a food processor?
A: Yes, a food processor is excellent for making pie dough quickly and efficiently, as it minimizes handling and keeps ingredients cold. Just be careful not to overprocess. Pulse the butter into the flour until it resembles coarse crumbs with some pea-sized pieces remaining. Then, add the ice water one tablespoon at a time, pulsing just until the dough just starts to come together. Stop immediately when it reaches the shaggy, squeeze-test stage.
Q: How long should I chill pie dough before rolling?
A: A minimum of 30 minutes, but ideally 1-2 hours. Chilling allows the gluten to relax (reducing toughness) and the butter to firm up completely (ensuring flakiness). You can even chill it overnight or freeze it for longer storage. If chilling overnight, let it sit at room temperature for 10-15 minutes before rolling to prevent cracking.
Mastering pie crust takes a bit of practice, but these simple shifts will make a world of difference. The next time you embark on a pie-making adventure, remember: less water, more cold, gentle hands, and patient rolling. You’ll be rewarded with a tender, flaky crust that elevates your pie from good to truly unforgettable. Happy baking!
Written by Clara Thorne
Home & Hearth, Personal Organization
A former university archivist with a passion for unearthing forgotten practices and making them accessible.
You Might Also Like

Why Your Homemade Yogurt Lacks That Tangy Kick (And The Simple Shifts That Guarantee Complex Flavor)
Discover why your homemade yogurt falls flat on flavor and learn the simple, expert-backed techniques to achieve truly tangy, delicious results.

Why Your Homemade Sauces Are Breaking (And The Pro Secrets for Silky Smooth Perfection Every Time)
Ever wonder why your homemade sauces split or curdle? Learn the pro secrets to achieve silky smooth, stable sauces every time. Stop breaking your emulsions!

Why Your Homemade Pizza Crust Is Soggy (And What Actually Works for Pizzeria-Quality Crisp)
Tired of soggy homemade pizza? Discover the non-obvious mistakes sabotaging your crust and the pro tips for pizzeria-level crispness.